Tuesday, 19 May 2015

How to make procrastination work for you

It's no secret I procrastinate. I think most people do, to varying degrees. But I've made an art of it, losing hours to the rabbit warren of pinterest (and social media) and all she has to offer.
But recently, procrastination has kicked my butt, and cost me more than I thought it would. So I had to figure out how to beat procrastination. These four steps are how I cut free of procrastination's hold.

First, let me be clear, I still procrastinate. I still haven't mastered procrastination, and I'm not sure I ever will, but with these four steps, I'm getting better and getting through my days with things finished.
 

Step One - Set a Time Limit

Whenever I feel the urge to start procrastinating, I give myself an hour to just go with it. My goal is to get down to half an hour by the end of the year, but I've only been trying these tricks for a few weeks, so I'm not there yet. At the end of the hour, I know that I need to do whatever it is that I'm avoiding, so I get stuck in to the procrastinating quickly.
 

Step Two - Do Something Productive

I know it seems kind of counter-intuitive, but hear me out. My house is slowly getting deep-cleaned at the moment, because I've found that doing tasks I don't enjoy means I get over the procrastination pretty quickly. I enjoy scrolling through pinterest, so I've told myself I need to not pin but do something when I need to procrastinate. The house gets cleaned, and I can procrastinate, feels like a win-win to me.
 

Step Three - Make Notes of the Inspiration

I found that as I was going about the boring repetitive jobs I'd set my self that my mind was free to wander. In the time it took me to clean my desk, I came up with 4 blog post ideas, and while I was cleaning the grill, I planned the week's shopping list. Having a piece of paper handy (or whiteboard marker in the kitchen) makes capturing those ideas easy, and before you know it, you'll have the shopping sorted for the month, and an editorial calendar planned.
 

Step Four - Eat The Frog

Sometimes, when I've reached the end of my procrastination time limit, I find that the urge hasn't passed yet, and I still want to keep going. The only way to get around that feeling is to just sit down and start. Then I find that just by starting, everything is ok, and I don't really need to keep procrastinating.

Paying attention to these four tips has made my day a bit more structured, and I feel like I've achieved something at the end of the day.

If you try these tips, let me know how they work for you!

Linking up with Essentially Jess
SHARE:

Thursday, 14 May 2015

How to use IFTTT to reduce your bounce rate

Today's prompt write a how-to post. It can be something useful, or tongue in cheek
I've been seeing lots and lots of talk lately about bounce rate. It's an important statistic for bloggers to be aware of, if they're interested in building their blog to a money-making platform (but it isn't important enough to be obsessive over - writing is still the most important part of blogging.)

Bounce rate is the measurement of how many pages someone visits before leaving your site. Google measures bounce rate every thirty seconds, so if the reader finds what they want on the page they land on, and bounce away, that counts towards your bounce rate.
My stats as of five minutes ago
My bounce rate has hovered around 78% for the whole entire life of my blog. But this month it has dropped significantly. That is, in part, because of the Every Day in May challenge. But it's also because I link to older posts. Linking to older posts keeps readers on your blog for longer.

So, how can you use IFTTT? First off, if you've never heard of IFTTT before, it means IF This Then That. It's an early computer coding term. IF (this thing happens) Then (do) That (thing). It's a powerful website that can automate your online life. I've been using it for a few years, with a couple of different Recipes. IF (instagram photo) Then That (facebook page) was one of the first Recipes I set up in the days before Facebook bought Instagram. I also use IF (facebook status) Then That (Evernote notebook) to capture the cute things kids say to be immortalised in scrapbook pages.
Ok, so here's how IFTTT can help reduce your bounce rate. Linking to old posts keeps people on your blog longer. Finding old posts can be hard when you've been blogging a long time. I know that searching on Blogger can be a little bit clunky sometimes, so a powerful search tool is needed. Excel is a pretty powerful tool. So is Evernote.
I stumbled on a Recipe that says IF (blog post) Then That (Google Drive), meaning that all the details of the post, link, header, tags, date, are sent to a spreadsheet in Google Drive, making searching easier, and linking to old posts even easier!

Now, for old bloggers like me, it's not going to help dive into my archives too much, that's why I'm creating my own spread sheet starting at the very beginning, but that's slow going. But it will help going forward. And in a few years time I'll have a nice resource of old blog posts to link to, reducing bounce rate even more! (And just quietly, the older a blog is, the better it is for SEO and being found by Google Search.)

Have you used IFTTT before?

Tomorrow's prompt  what would you do with a million dollars? It's a pipe dream for many, winning the lottery. How would you spend the money if your numbers came up?

{life behind the purple door}

SHARE:

Wednesday, 13 November 2013

back to basics | how to have a sidebar widget without a title

This one's for you, Jos!

When I updated my sidebar picture after Sophie was born, I discovered that I couldn't save the change without a title in the box. I didn't want a title, so I had to resort to a full stop. Then I stumbled over to Sew, Cook, Laugh, Live, and all it's full stops, and realised that I wasn't the only one having problems, so I had to find the answer.

And it's a really simple answer. It doesn't involve playing with your template, although it does involve a little bit of HTML coding.

Just enter this code in place of your title. It's that simple. And as you can see from my sidebar, the dot is gone!

{I found the answer at Design it Chic}
SHARE:

Wednesday, 14 November 2012

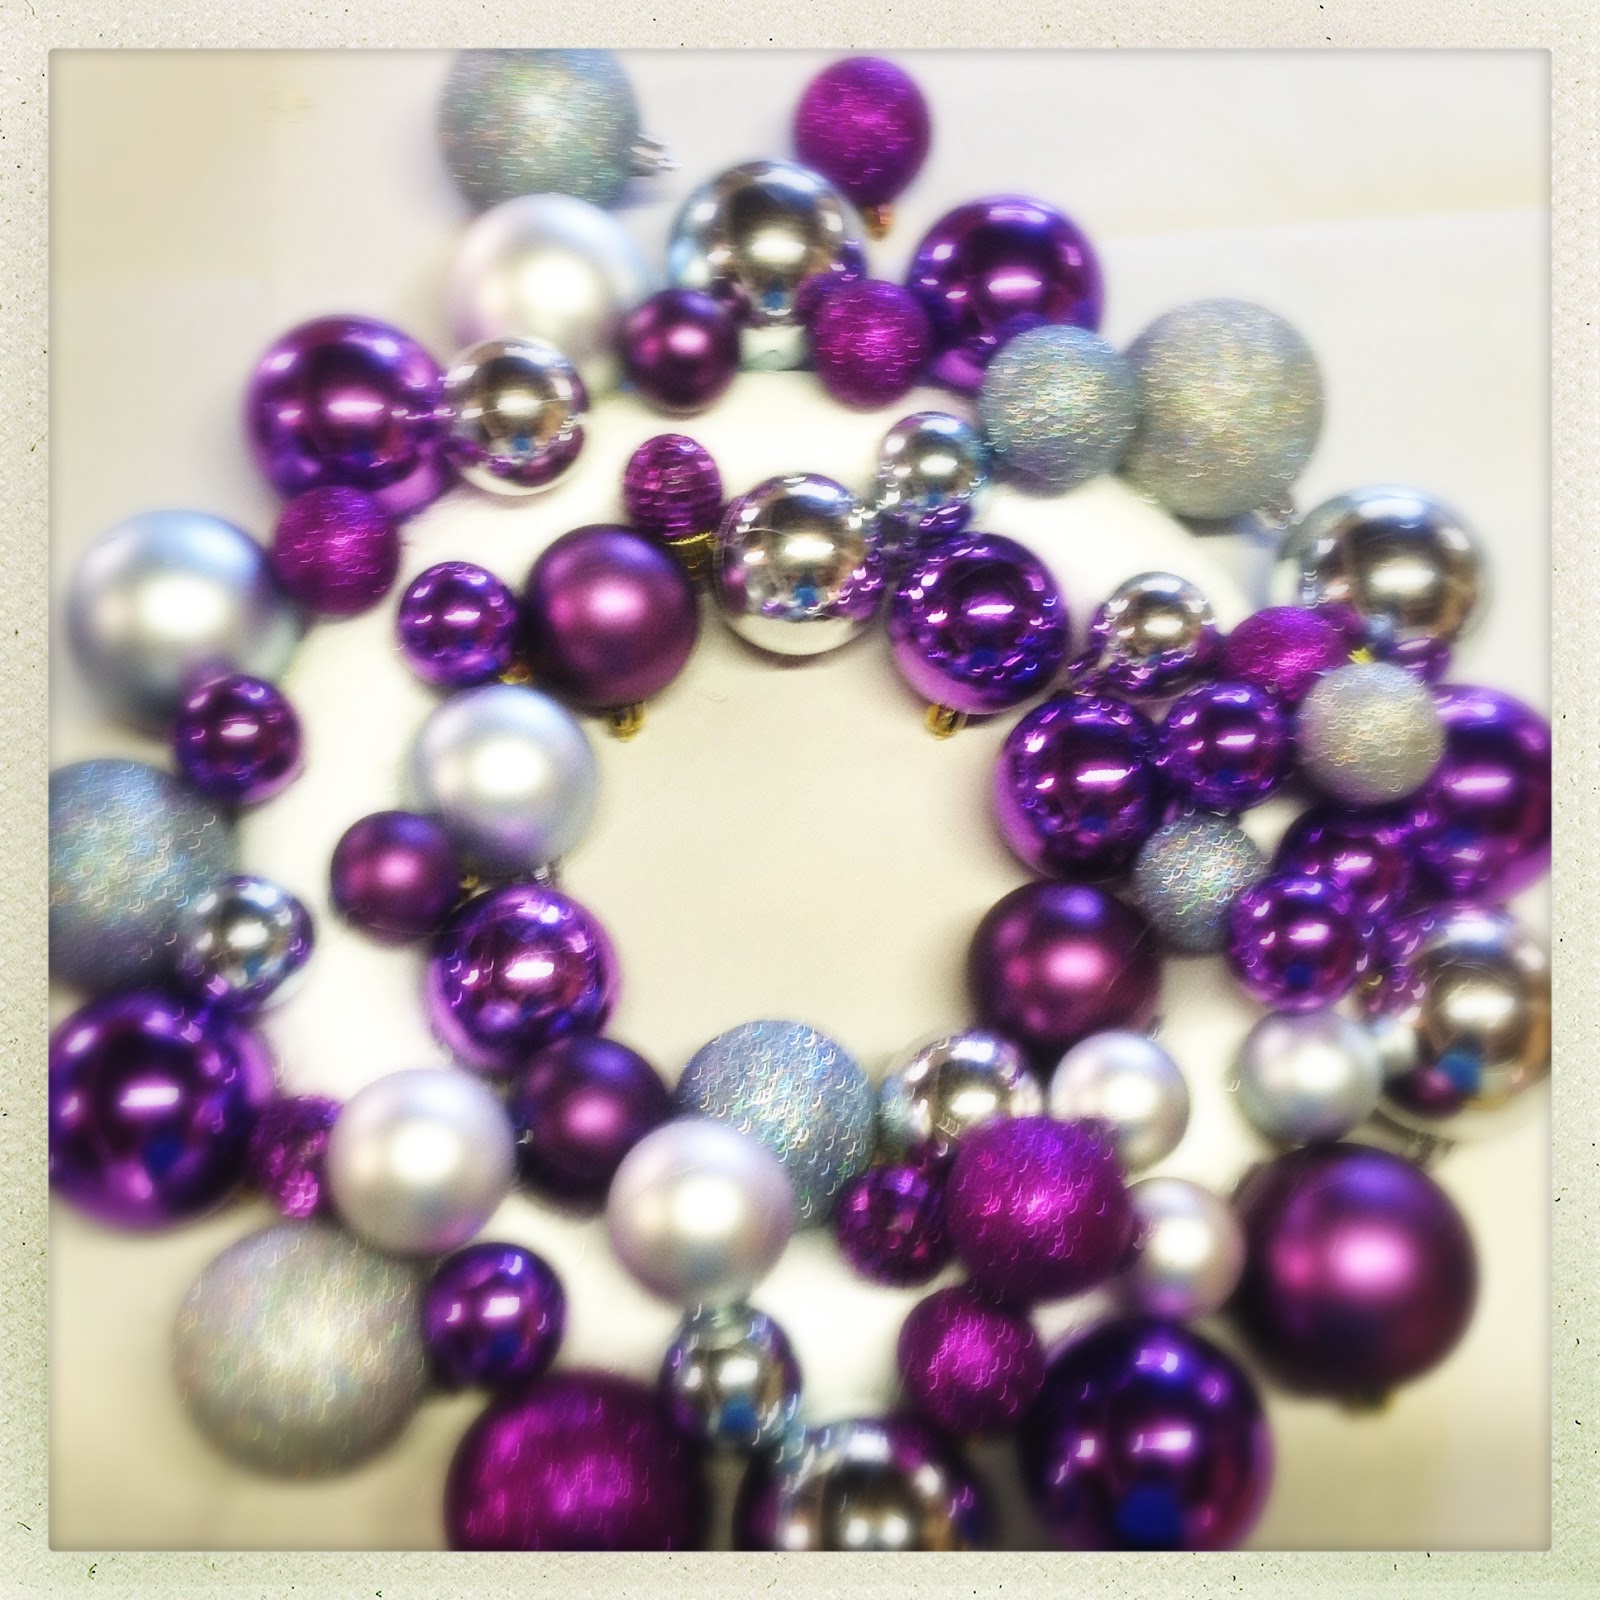
100 days to Christmas | HOW-TO make a wreath

Inside - a step by step guide to creating a bauble wreath for your door.


On my project list back in September was a big basket of ornaments. I knew when we were packing everything away last year that I was going to have a go at making my own wreath this year, so the ornaments have sat in a basket in the craft room, waiting for me to get into action.


I started by laying my foam piece out on butcher's paper. {here's a handy tip - try the local storage place for butchers paper, I get mine from Storage King for about $15}


I gave up trying to pry the gold caps off, so just tried to tuck them out of sight {don't look too closely}


And now I have a big glue gun that works properly, the job is made ten times easier.


Building up layers is the best way to create a full wreath. Try to fill gaps, by looking overhead and placing things before gluing.


I actually hated the finished wreath. To my overly critical eye, I'd failed.

But once it was hung on the door I knew it was perfect for us!


Have you started making decorations yet?


bit.ly?ChristmasPlanner2018

SHARE:

Thursday, 20 September 2012

back to basics | how to create a hyperlink

Sometimes I forget that not everyone knows everything about blogging, and that it can be intimidating to ask questions if something looks easy enough that you "should" know how to do it. With that in mind, I asked classmates from Blogging from the Heart if there was anything they would like to learn, and this series was born.

on blogger blogs

  • highlight the word you want to hyperlink
  • click the word "link" (circled above)
  • when the box pops up, the top line will have the word you've highlighted, the second line will have "http://" in the box, type or paste your link here (you can highlight "http://" if you've copied a link and paste)
  • if you want the link to open in a new window, click the box 
  • if it's a paid link, click "no-follow"
  • click ok. Now the word you highlighted will look like "Blogging from the Heart" in the picture above

 on wordpress blogs

The steps are the same as for blogger blogs, but you click on a picture, not a word.

Keeping it real - I didn't learn to create hyperlinks until I had been blogging for six months!

If you have a question, you can use this google document to ask me.
SHARE:

Thursday, 2 August 2012

HOW-TO make photo labels in photo shop elements

I've been seeing lots of photos around lately with a label strip across the photo with text inside the label. It's super on-trend, and I stumbled on how to make it by accident, so thought I'd share my newly-acquired knowledge.


Start by opening your picture in photoshop elements. Resize it however you want.


Select the rectangular marquee tool


Select the area you would like filled


Along the menu bar, click "edit" then "fill..." Choose your colour and opacity. I like 50% transparent, but solid colour seems very popular, too.


Place your text where you want it


One last trick - to make your text stand out, add a glow. To do this, make sure you're on the text layer, but not editing it. On the tool bar, select "layer", "layer style", "style settings", then tick the box for glow. You can play with the level of glow, I usually like a 1 (like on my new sidebar buttons), but I use a 5 on my business cards.

If you use this tutorial, let me know so I can see what you create!
SHARE:
Blogger Template Created by pipdig